Bandage fixation and removing stitches
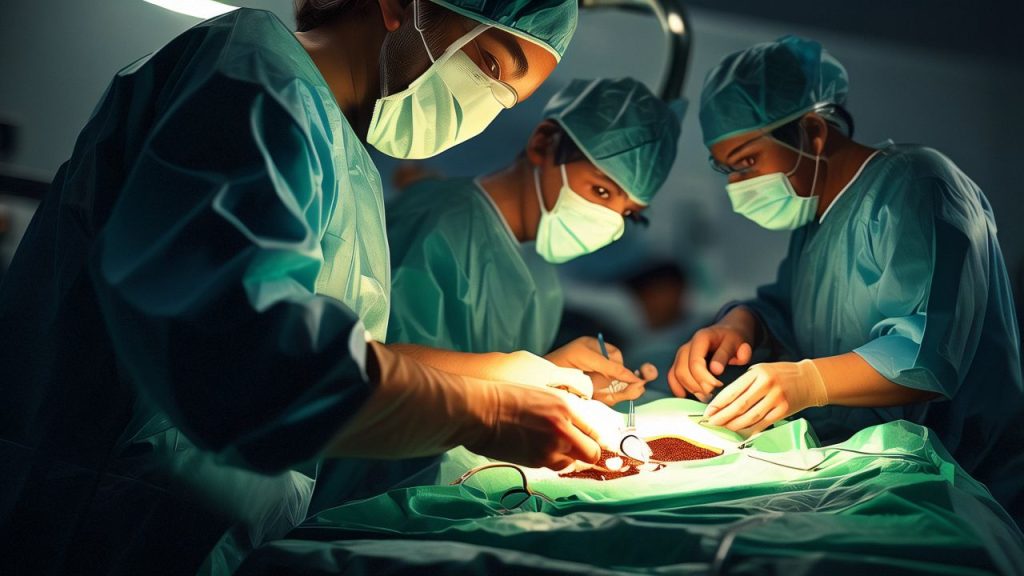
In contrast to regular surgery, cosmetic surgery isn’t just about cutting out unhealthy tissue. It involves reconstructing organs or restoring function. That’s why proper bandaging and securing after the surgery are crucial. Good bandaging and securing not only prevent infections from too much exposure of incisions but also help with applying pressure to stop bleeding and shaping. On the other hand, if the bandaging and securing are not done properly, it can affect the outcome of the surgery and even lead to its failure.

1.Bandaging and Securing Techniques
When it comes to bandaging, you’ve got options like adhesive tape, bandages, four-tailed bandages, abdominal belts, and chest belts. And for keeping things in place, you can choose from plaster splints, plastics, wire splints, and memory alloys.
- Adhesive Tape Method: Adhesive tape is your go-to for securing outer dressings on wounds. Cut it into strips about 1cm wide, stick it over the incision, and make sure to wrap it spirally when securing limbs and fingers to avoid cutting off circulation. And don’t forget to apply it perpendicular to the limb’s long axis at joint areas.
- Bandage Fixation: Using bandages outside the incision not only secures the dressing but can also help with applying pressure to stop bleeding. Different body parts require different bandaging techniques – think figure-eight for the chest, back, hand dorsum, and ankle, spiral wrapping for the lower leg and forearm, and triangular gauze for fingertips and toes.
- Four-Tailed Bandage: Place the middle of the four-tailed bandage over the dressing at the incision and tighten it up. This method is perfect for bandaging the head and face while minimizing the impact on facial functions.
- Abdominal and Chest Belt Fixation: Use specialized abdominal and chest belts to secure the chest and abdomen. And if you need extra support for limb immobilization, turn to plaster splints, wire, steel plates, or malleable materials to avoid hindering wound healing, especially after skin grafting surgery in cosmetic procedures.
(2) Tips and Tricks
- Make sure the bandage covers more than just the wound: It’s a good idea for the bandage to extend 5-8 cm beyond the edge of the cut to prevent it from shifting and causing infection. If there was tissue removal during surgery, the bandage should cover more than just that area. After a skin graft, leave some extra thread, pack with gauze, and tie it snugly to prevent infection.
- Keep the bandage snug but not too tight: When wrapping with pressure, use soft gauze and elastic bandages. The bandage should be about 3-5 cm thick with gentle pressure, around 30 mmHg. This helps prevent bleeding, swelling, and promotes healing. When bandaging limbs, start from the far end to avoid swelling and keep the tips of the fingers or toes exposed for circulation check.
- Bandages should keep things in place: Proper immobilization is crucial for tissue healing, especially during tissue transfers. Cosmetic surgeries like nose or ear reconstruction rely on post-op bandaging to maintain shape and position. For joints after skin grafts, use plaster casts, and for breast augmentation, use elastic bandages to keep implants in place.
- Some cosmetic surgeries don’t need bandaging: In nose jobs with implants, it’s often better not to bandage to monitor results and adjust if needed. After a heavy face surgery, bandaging isn’t always necessary, but if used, it’s usually removed within 24 hours. The next day, the bandages should be removed, and the patient can resume normal eye movements.
- Know when to change dressings: For major cosmetic surgeries, if the bandage is intact and the patient feels fine, there’s no rush to change it. Wait until the stitches are removed. If the bandage shows signs of bleeding, pain, or a funky smell, change it promptly and take care of the area.
(3) Taking Out Stitches
Taking out stitches is the final step in cosmetic surgery. Before removing the stitches, the cut should be cleaned with either 2.5% to 5% iodine or 75% alcohol. If there’s a scab on the cut, soak it in saline solution first, then use tweezers to grab the end of the thread, lift it up, and snip the stitch close to the skin with scissors to prevent too much thread passing through the tissues and causing infection.
When pulling out the stitches, make sure to pull them towards the cutting side to avoid tearing the wound. For stitches in the skin graft area, cut the stitch on the wobbly skin side and pull the thread towards the skin flap side to prevent the skin from coming off. The timing of stitch removal is crucial for the surgery’s success.
Removing stitches too early before the wound heals might cause it to split, while waiting too long can lead to stitch marks. Normally, stitches in regular cuts can be removed around 7 days after surgery, low-tension facial cuts can be unstitched 3 to 5 days post-surgery, and high-tension cuts should have stitches taken out around 10 days after the operation. Full-thickness skin graft stitches are usually removed about 2 weeks after surgery, but this can be extended if the area moves a lot.
Doctors should keep an eye on the cut; if there are issues with blood flow or if there’s fluid or pus, some or all of the stitches should be removed promptly and dealt with properly. When deciding on the right time to remove the stitches, doctors should also consider the patient’s age, overall health, and nutrition.